Setup wordpress on AWS EC2 over https
This article will assume that you have domain managed by AWS Route53 service. If you don't have domain, go ahead and register one by visiting Route53 -> Registered domains -> click on button Register domain then follow instructions.
Go to the EC2 management console -> instances -> then click on the button Launch instance. Select AWS Marketplace then search for wordpress
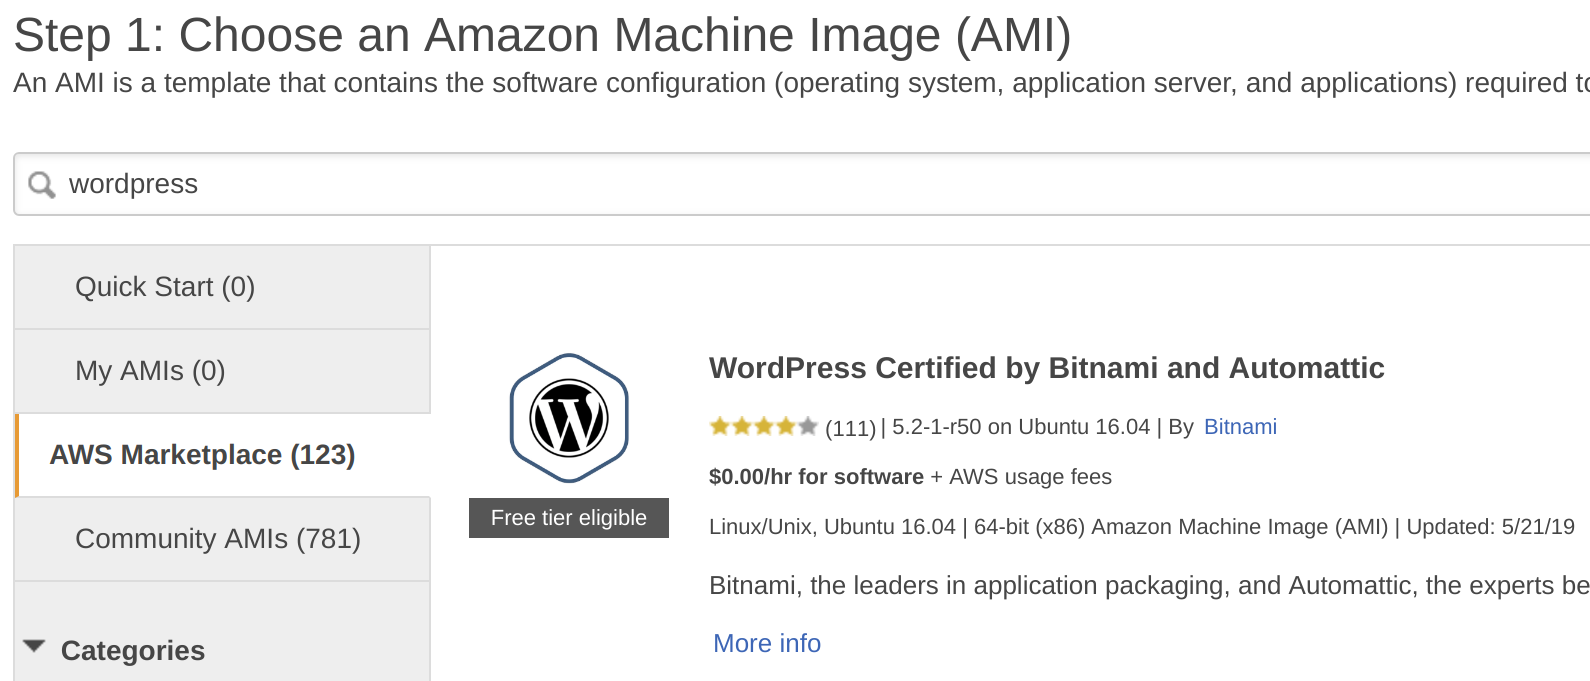
Select "Wordpress certified by Bitnami and Automatic". Also make sure that your image is using Apache web server. This Bitnami image comes with preconfigured LAMP and wordpress. Also their setup contains script that we will use to get and auto-renew certificate for our domain from let's encrypt.
Continue with launching EC2 instance as usual by setting options tailored to your needs. Don't forget to download your EC2 key pair or make sure that you have access to existing one.
While instance is launching go to Elastic IPs under EC2 management console, create elastic IP address. When your instance is ready attach this address to your instance.
Go to Route53 -> Hosted zones -> click on your domain name -> click Create record set. Leave name field empty, type needs to be A - IPv4 address. Enter your elastic IP address into value field. Save changes.
Now go ahead and SSH to your instance. If you are using *nix you can do it from terminal, otherwise if you are on windows you will need putty to do so.
After login run
sudo /opt/bitnami/bncert-toolthen follow instructions.
If you already had your domain registered, WordPress site will be up and running on https in several minutes. All http traffic will be redirected to https too.
BONUS: One more thing that you can do while logged in is to remove that annoying banner in the bottom right corner. Run following command to do so:
sudo /opt/bitnami/apps/wordpress/bnconfig --disable_banner 1Now restart Apache to apply changes
sudo /opt/bitnami/ctlscript.sh restart apache